Add a SCORM package
Before you begin
Procedure
-
At the top right corner of the page, click on Turn editing
on.
Figure: Turn editing mode on
 You will see the course page in editing mode.
 -
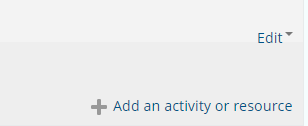
Click on Add an activity or resource at the bottom of
the topic section to which you want to add a SCORM package.
Figure: Add an activity or resource
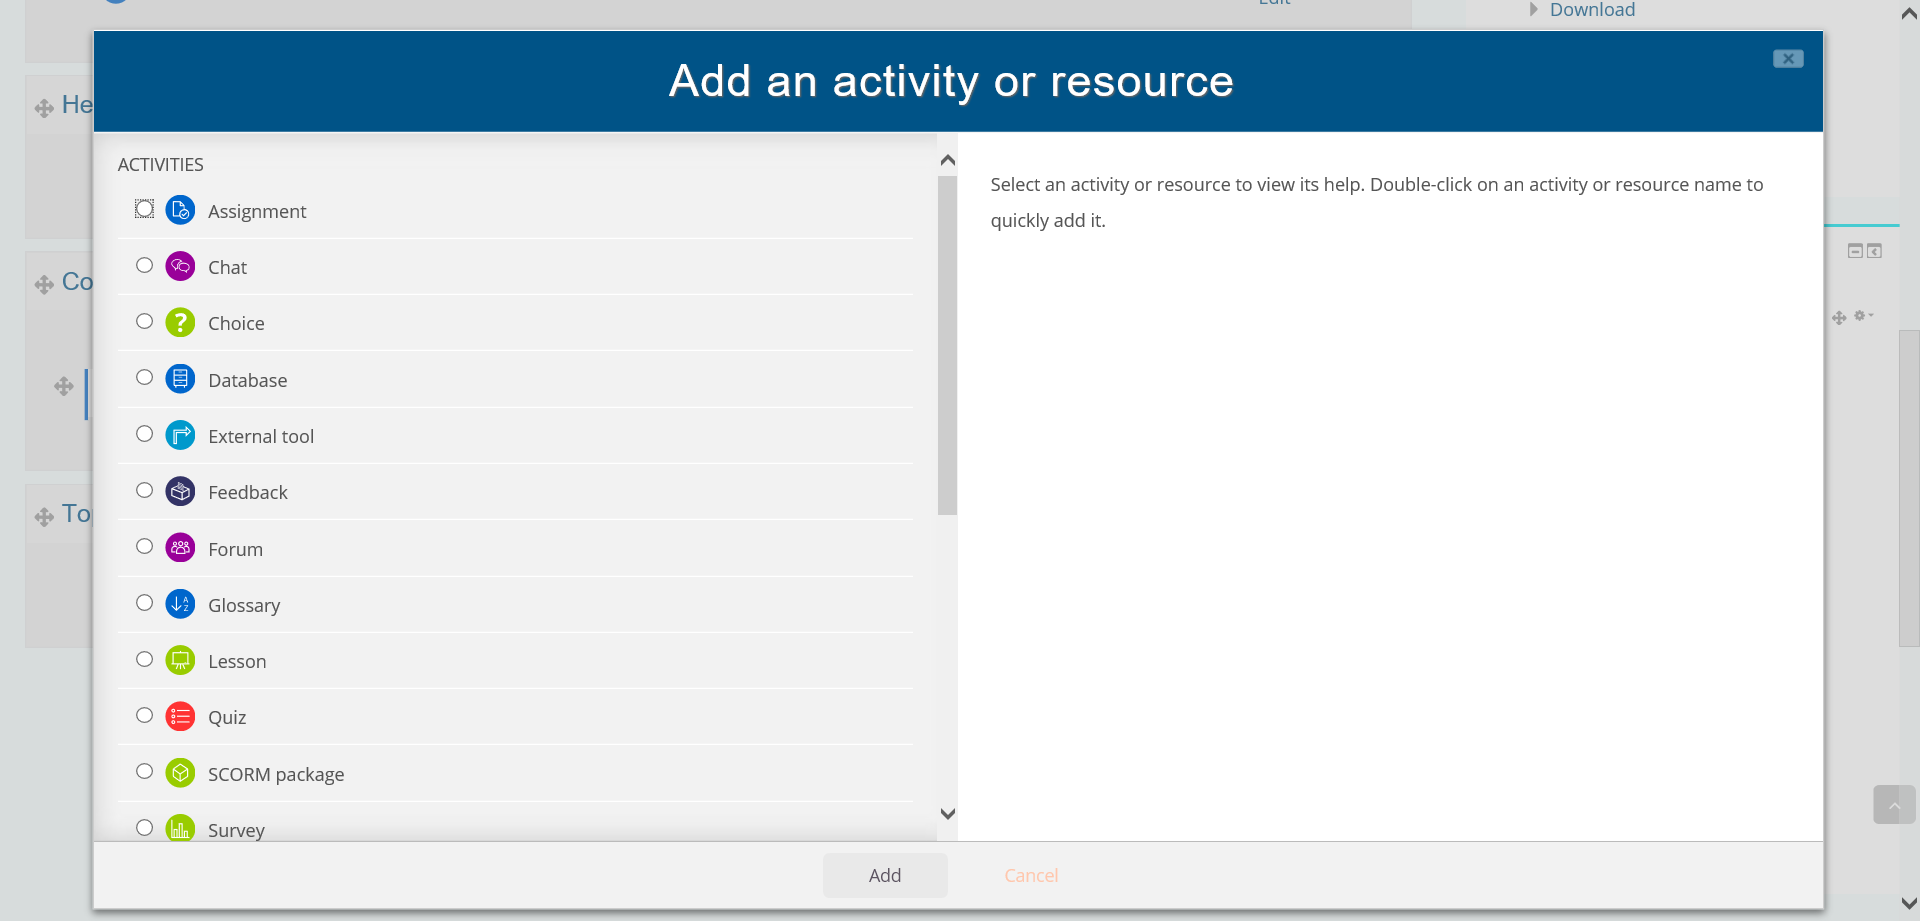
 You will see the Add an activiy or resource window with a list of all available activities and resources.
Figure: List of activities and resources
-
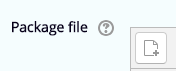
In the section Package files, click on Add
file.
Figure: Add file icon
 You will see a window for uploading your package.
 -
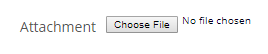
Then, click on the Choose file.
Figure: Choose file
 You will see your explorer window.
Results
You have saved the SCORM package.