Create a course
Before you begin
- Make sure you are logged in as Manager.
Procedure
-
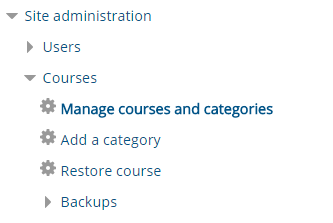
In the Administration block, click on: .
Figure: Go to Manage courses and categories
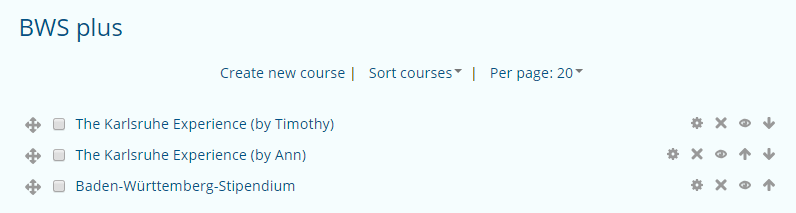
 The Course and category management page will appear.
 -
In the right column of the page, click on the button Create new
course .
 The Add a new course page will appear.
Figure: Add a new course page

-
After having adjusted the settings according to your needs, you can
- either click on Save and return to course, which will lead you to Course and category management after saving,
- or Save and display, which will display the course after having saved it
Figure: Save course

Results
You have created a new course on the Karlifi Learning Platform and can find it in the course list under: . The course settings can be edited by clicking on the Edit symbol (gear icon).